Why am I unable to change the Category or Class on a job in Mitigate?
Unable to add Class at the room level
Unable to add Category at chamber level
Answer
Mitigate: Identifying Class & Assigning Water Category
Follow this process to calculate the correct Class of loss and select the proper water Category for your drying chamber.
Idenitfying Class
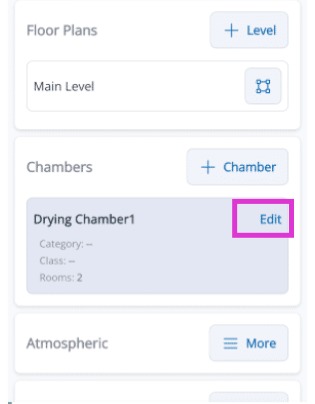
1. Access the Chambers Card
From the job summary screen, locate the Chambers card and tap Edit for the specific drying chamber where your affected room is assigned.
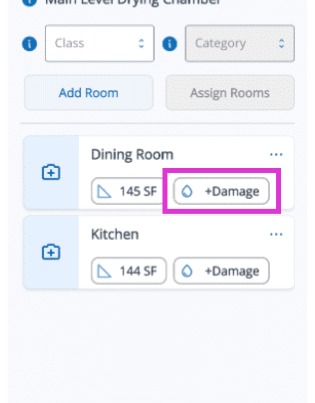
2. Start Damage Input
Within the chamber menu, find the specific room and tap the +Damage button. This action opens the Room Data Card, where you will record all moisture-related details.
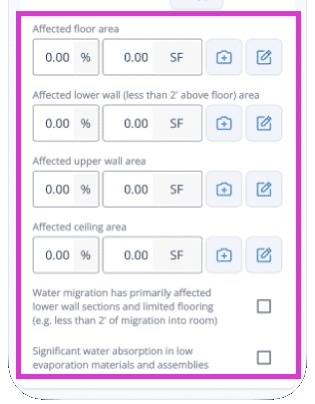
3. Complete Damage Information
Navigate to the Damage Information tab. Enter the percentage or the actual square footage (SF) of damage for the affected floors, walls, and ceiling areas.
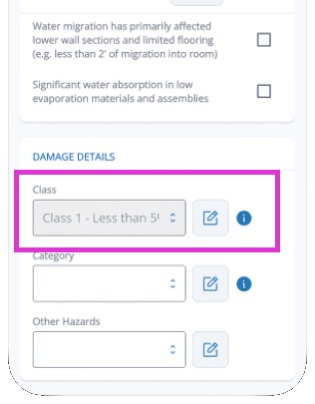
4. Verify Automatic Calculation
Review the Damage Details section. The application automatically assigns the appropriate damage class (e.g., Class 1) based on the specific measurements you provided in the previous step.
Adding Category
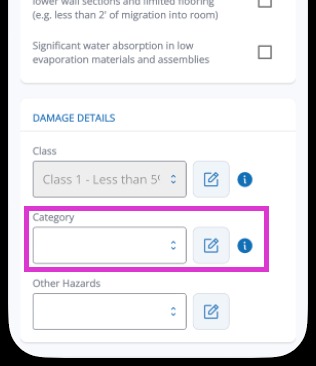
5. ## Navigate to Category Selection
Tap on the Damage Information tab. Scroll down past the area measurements to find the Water Category section. Tap the field to open it.
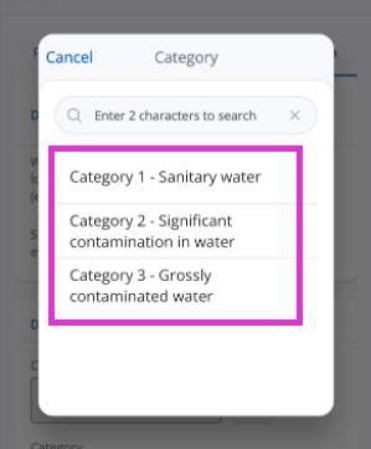
6. Evaluate the Source
Determine if the water is clean (Category 1), contaminated (Category 2), or unsanitary (Category 3). This step is critical for mitigation planning.
7. Make Your Selection
Tap the appropriate category button within the app.
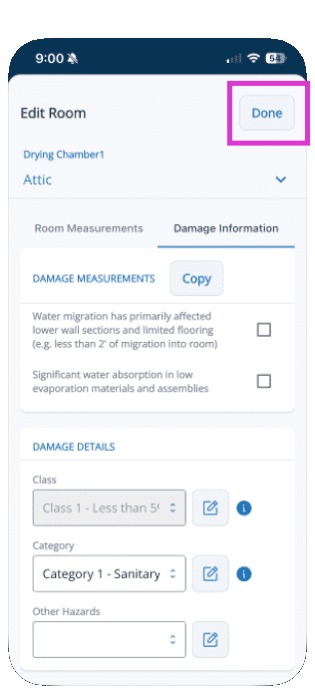
8. Save Your Selection
Tap Done to save your selection.
Tip: That concludes the process for identifying the Class and adding the Category to a water loss in the Mitigate app.