
Question
- How do I sketch with LiDAR in Mitigate?
- How to I start a scan with LiDAR in Mitigate?
Answer
Mitigate: Initiating LiDAR Scanning
Follow these steps to start a LiDAR scan effectively.
Tip: Prepare Your Device
Ensure your device is compatible with LiDAR scanning, such as iPhone 12 Pro or newer models.
Check that your device has sufficient battery life and storage space to handle the scanning process.
It is advisable to begin LiDAR scans with your device charged to 30-40% battery and with at least 2-3 GB of available storage space.
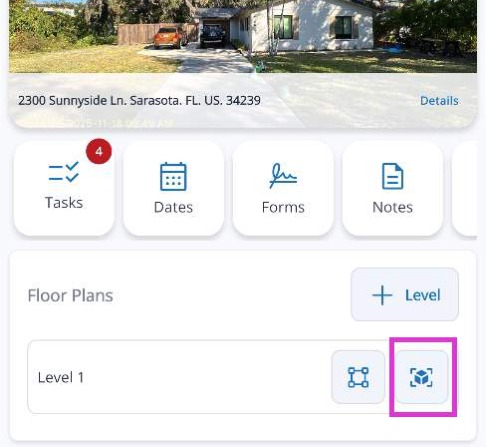
1. Activate LiDAR Scanning
Select the LiDAR scanning icon in the Mitigate app.
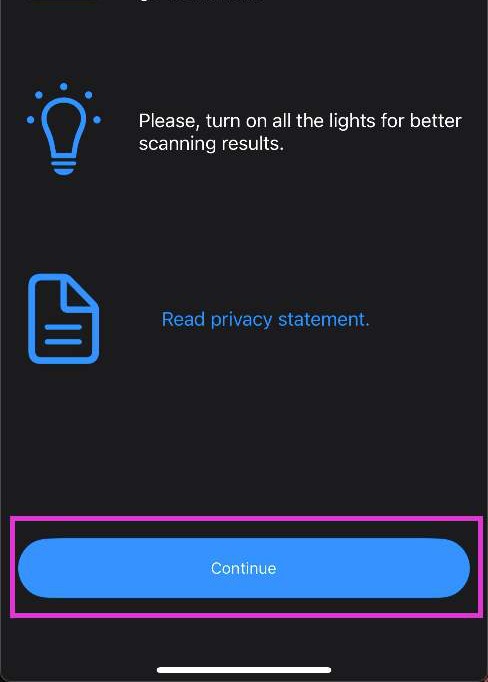
2. Notification Confirmation
Select Continue from the notification screen that appears.
This screen reminds you to scan one room at a time and to make sure the area is well lit.
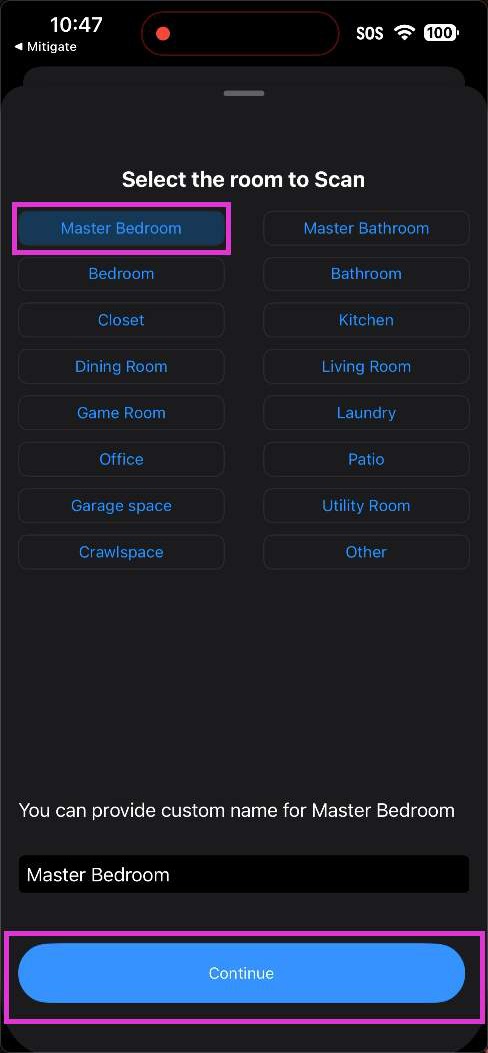
3. Select the Room
Select the room you will be scanning. (You can select from the list or type in your own room name.)
Tap Continue.
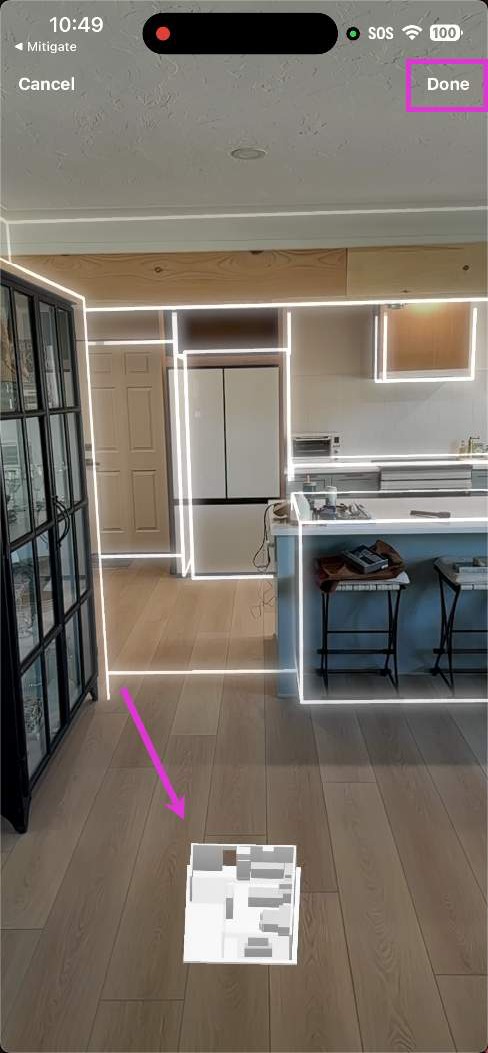
4. Verify and Save Scan
Review the 3D model to ensure all areas have been captured accurately.
Tap Done to save the scan.
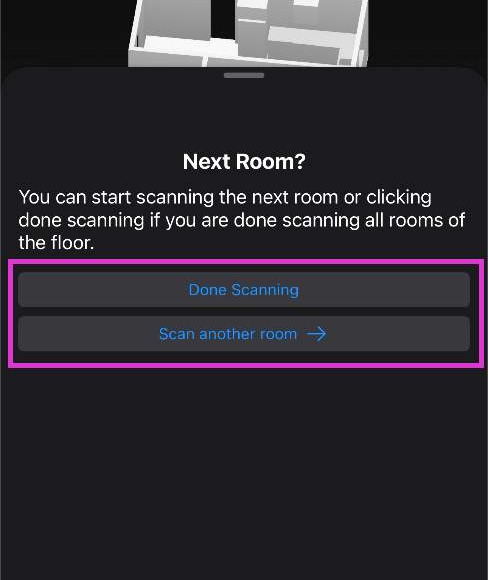
5. Verify Other Rooms
Indicate if you are finished scanning or if there are other rooms by tapping on the appropriate selection.
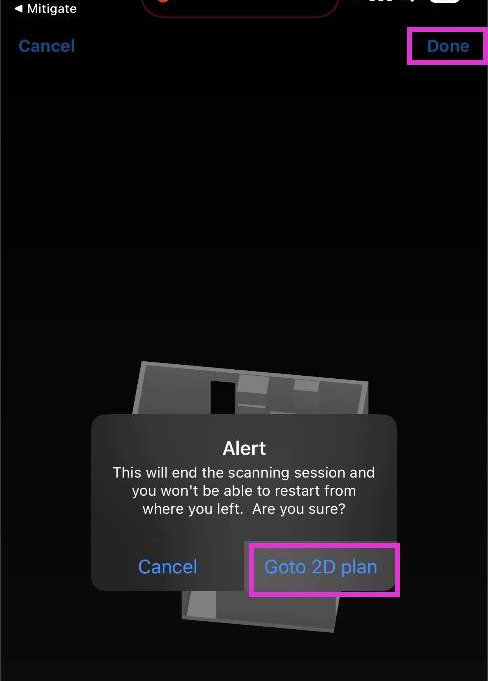
6. Confirm Completion
Tap Done in the top right corner.
Tap on Goto 2D plan to return to the floor plan in Mitigate.
Tip: Your Scanned Room is Complete!
Your LiDAR scan is complete, and you are now ready to finalize your floor plan documentation.
Questions? Contact Us!