
Question
- How do I add rooms to a level in Mitigate™?
- Can rooms be added to a level in Mitigate™?
Answer
Questions? Contact Us!
Mitigate: Adding Rooms to a Level
Use the following process to populate your levels with rooms and organize your project layout
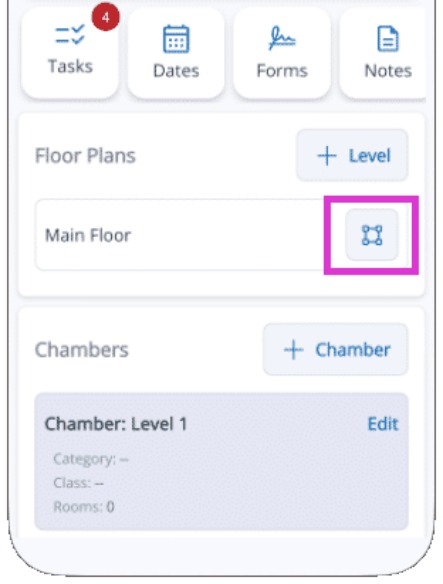
1. Open the Floor Plan Tool
Access the floor plan tool within your job.
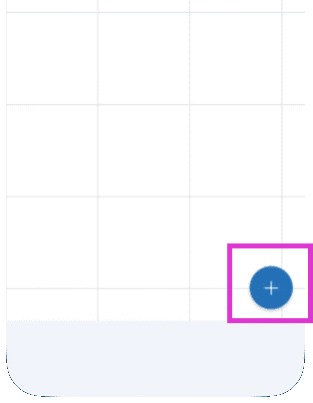
2. Select the Add Button
Tap the blue plus sign icon in the bottom right to open the Areas menu where you can choose to add a rooms, stairs, draw a wall, etc.
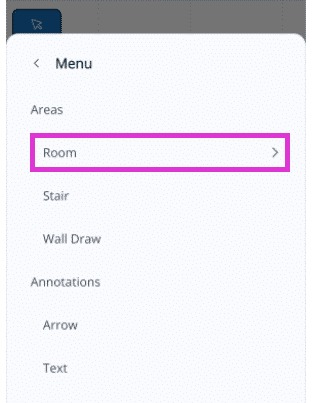
3. Select Room
Select the Room category from the menu.
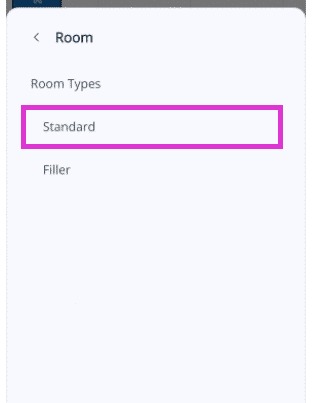
4. Choose the Room Type
Select the room type that best fits the areas role in your drying plan.
- Standard Room:Use this for any space requiring moisture drying
- Captures exact dimensions for S500 equipment calculations
- Tracks specific moisture readings and equipment assignments
- Generates the detailed data required for insurance reporting
- Filler Room:Use this to maintain the structural integrity of your layout
- Fills architectural gaps or "dead space" where no drying is occurring
- Organizes the visual floor plan without affecting equipment counts
- Excludes specific documentation or moisture tracking
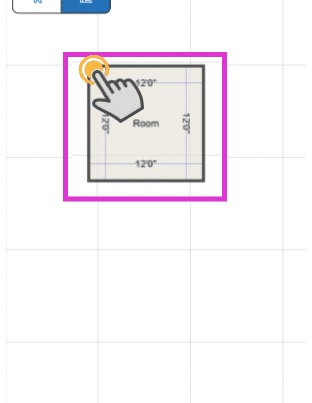
5. Add Room to the Canvas
Tap anywhere on the canvas to place your new room.
Tip: That completes the process for adding rooms.